How to set up Custom Fields on PopUp Domination with MailChimp

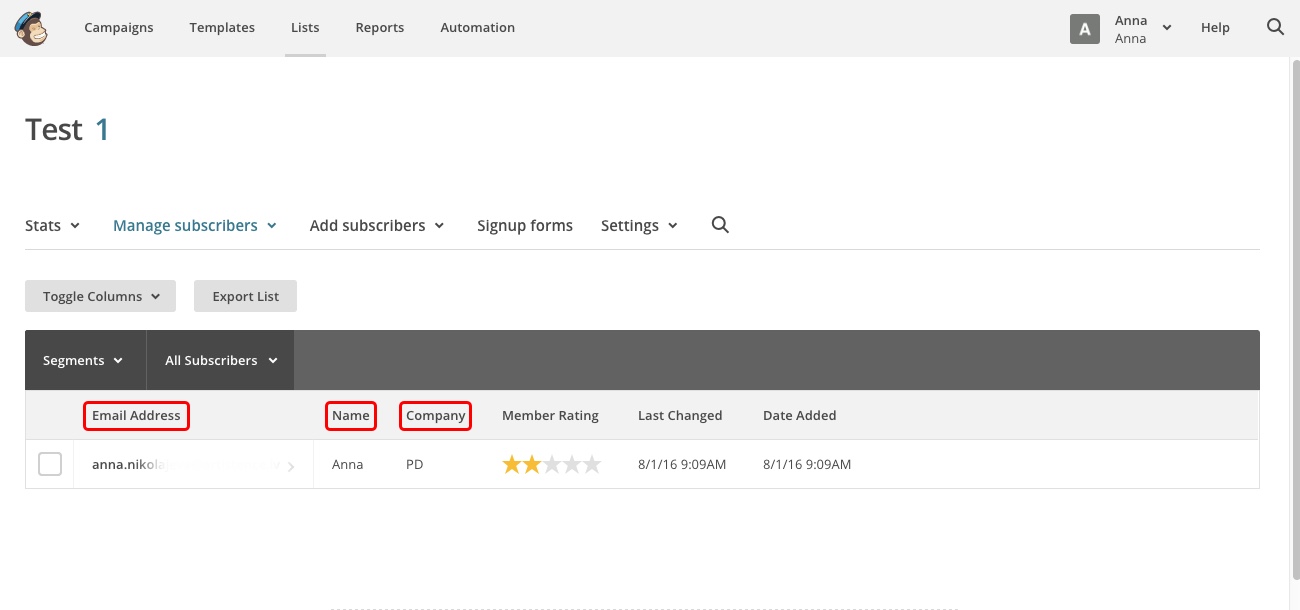
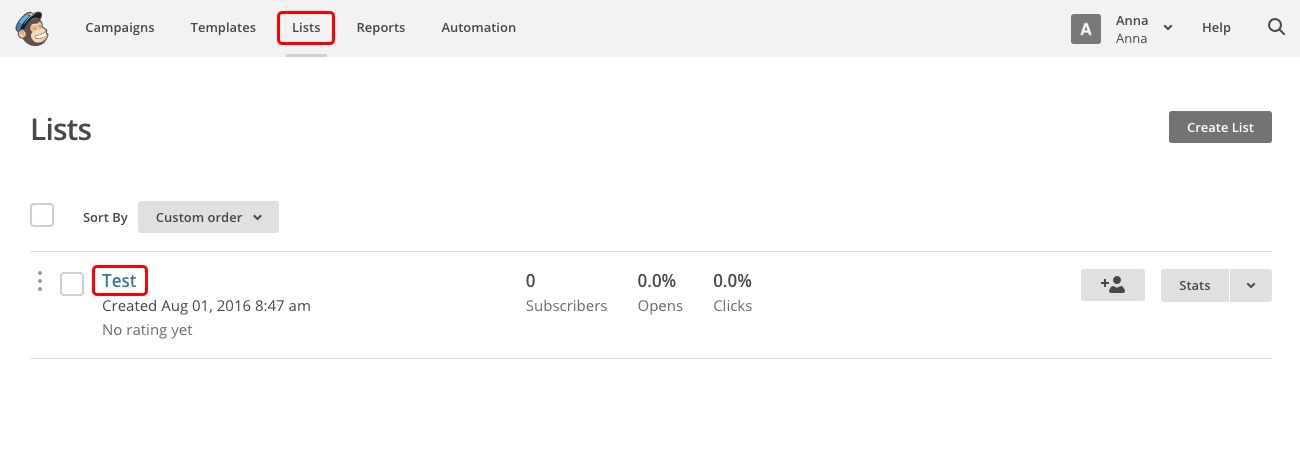
1. First, we need to integrate MailChimp using Custom Form HTML Code. If you already have Mailing Lists, choose and click one. If not create it first.

Group1

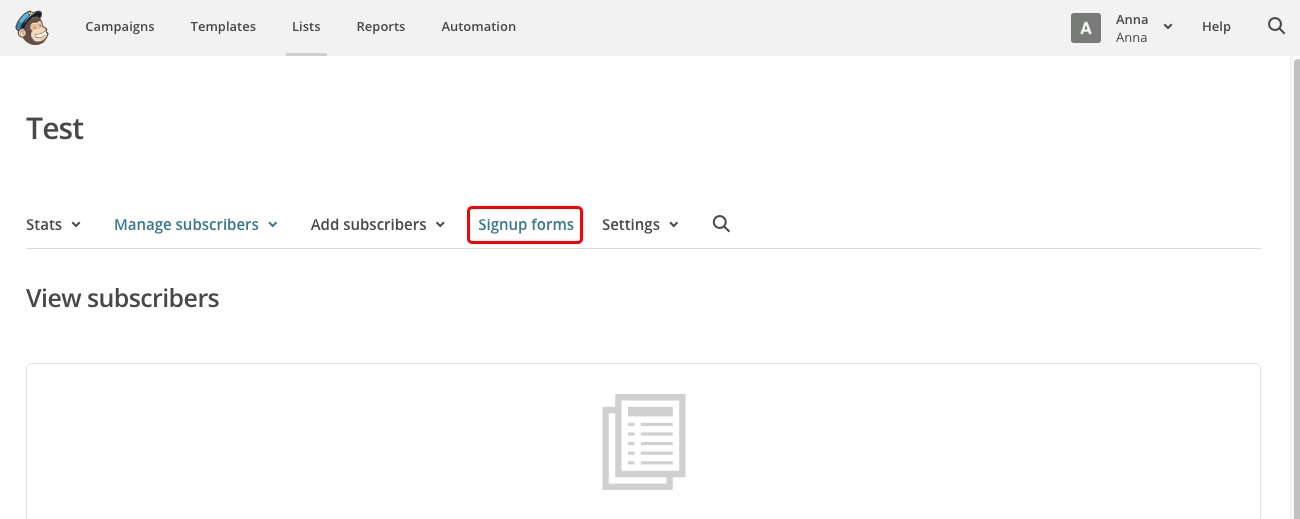
2. Go to Signup forms:

Group2

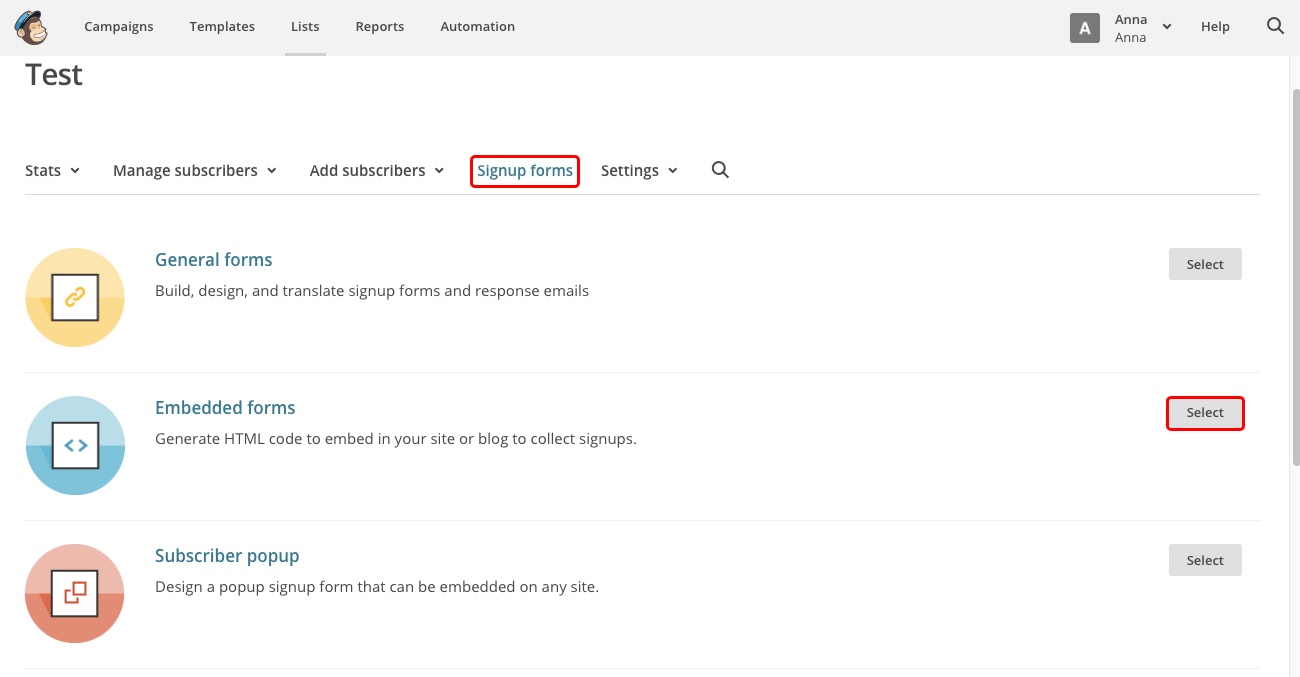
3. Select Embedded forms:

Group3

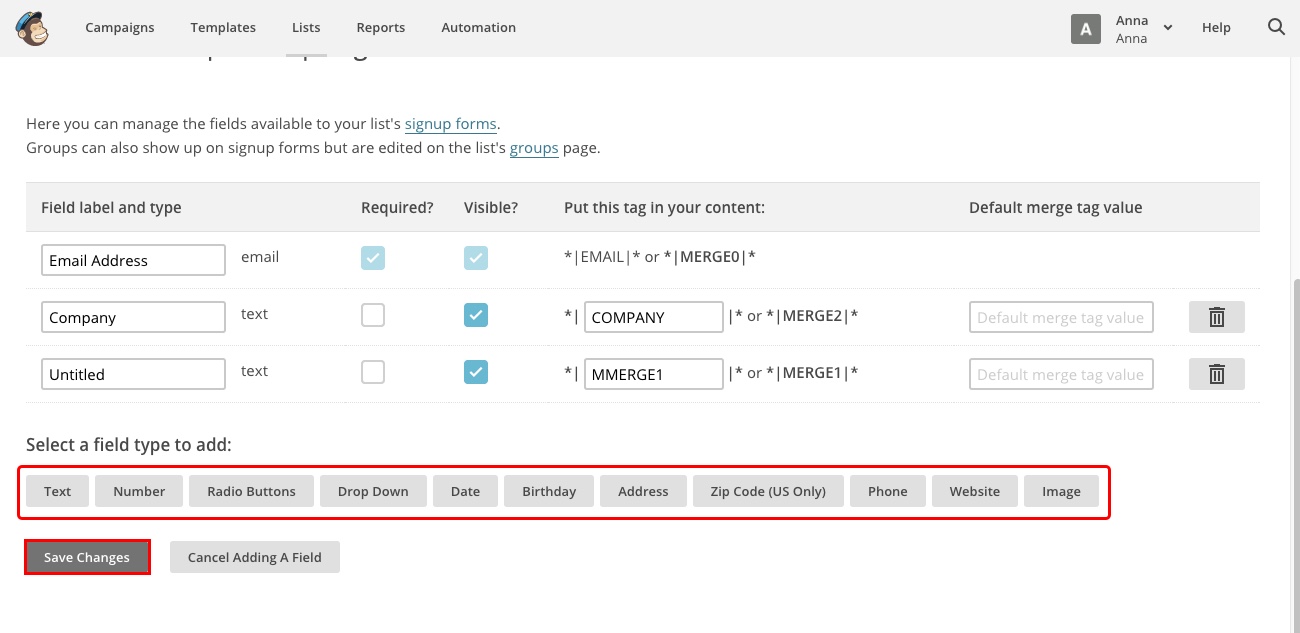
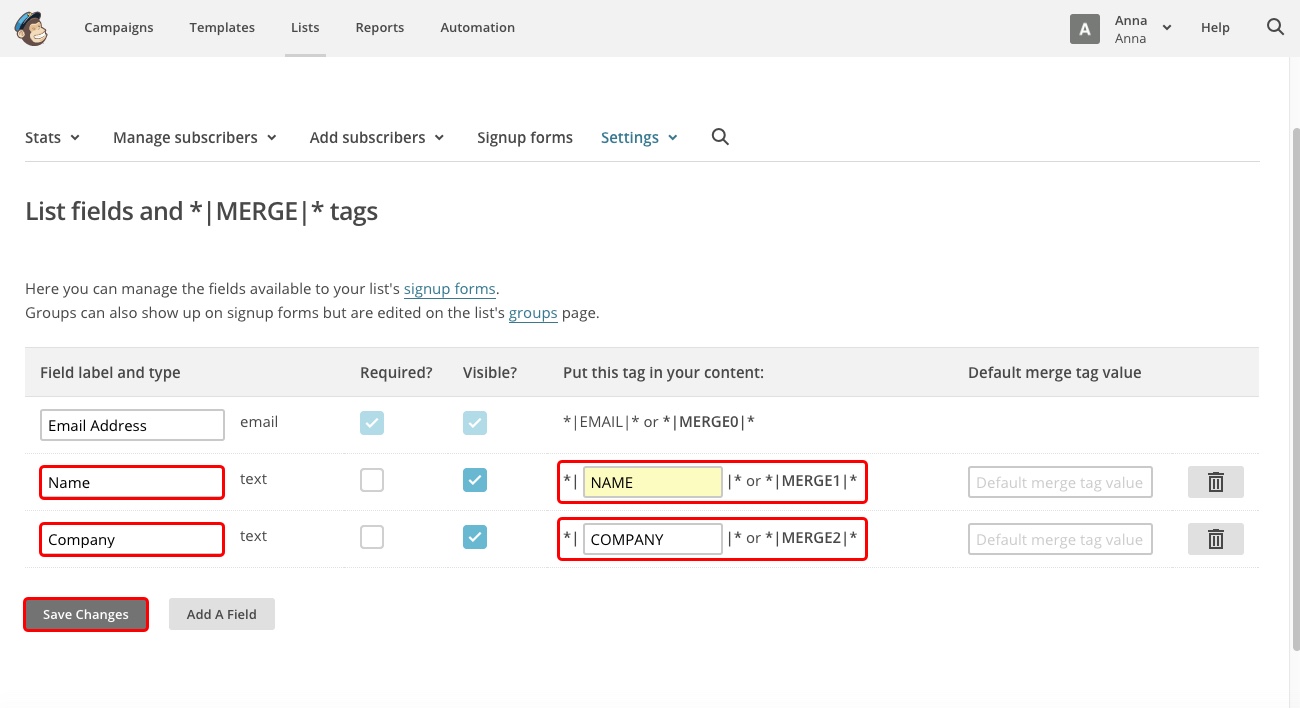
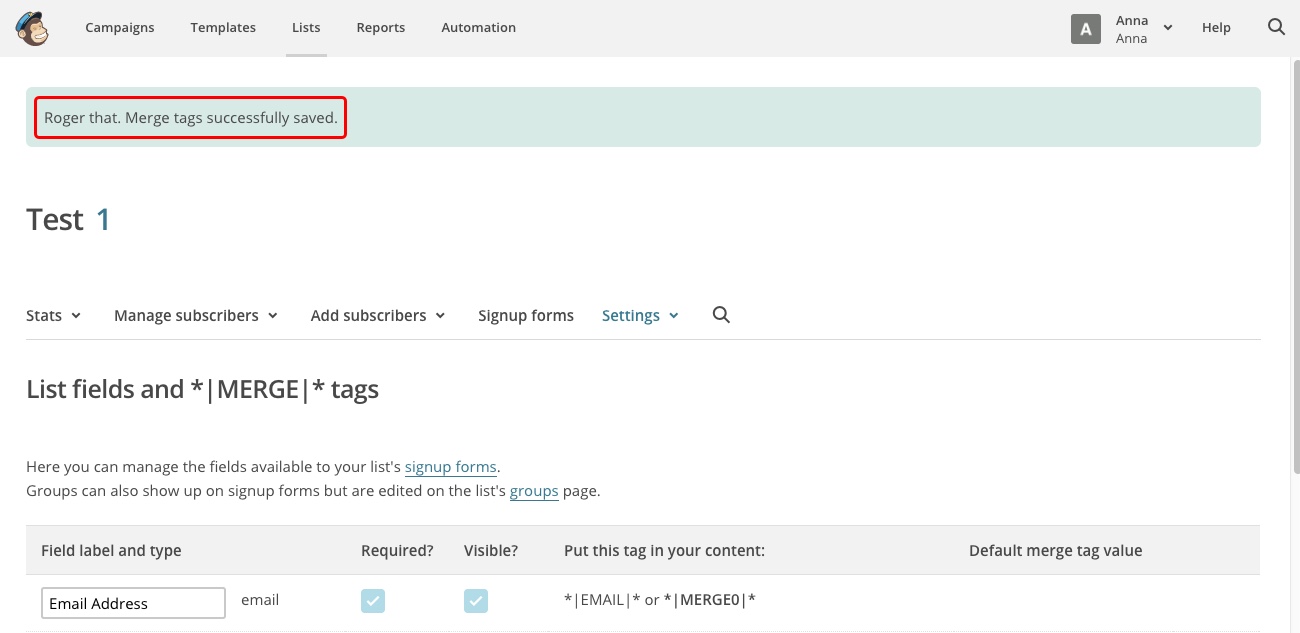
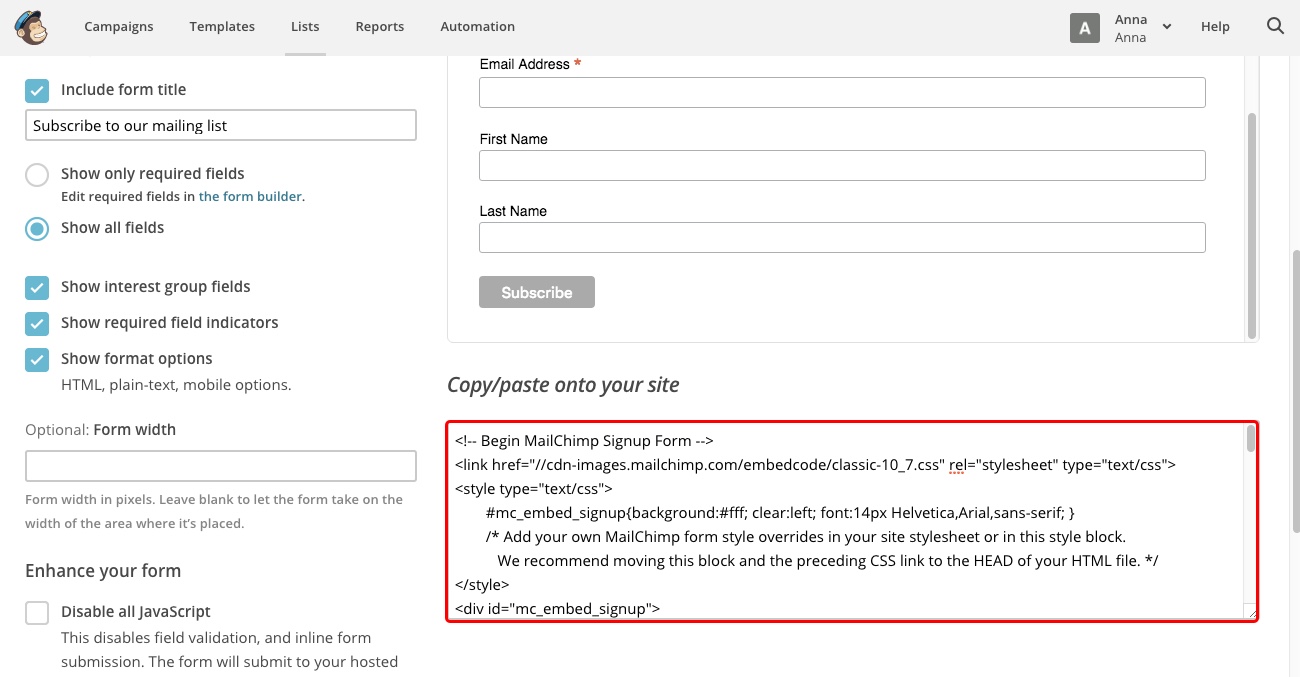
4.  Create your Custom Form. Don’t be bothered by design, PopUp Domination will override it. When this is done, select and copy the Custom Code:

Group4

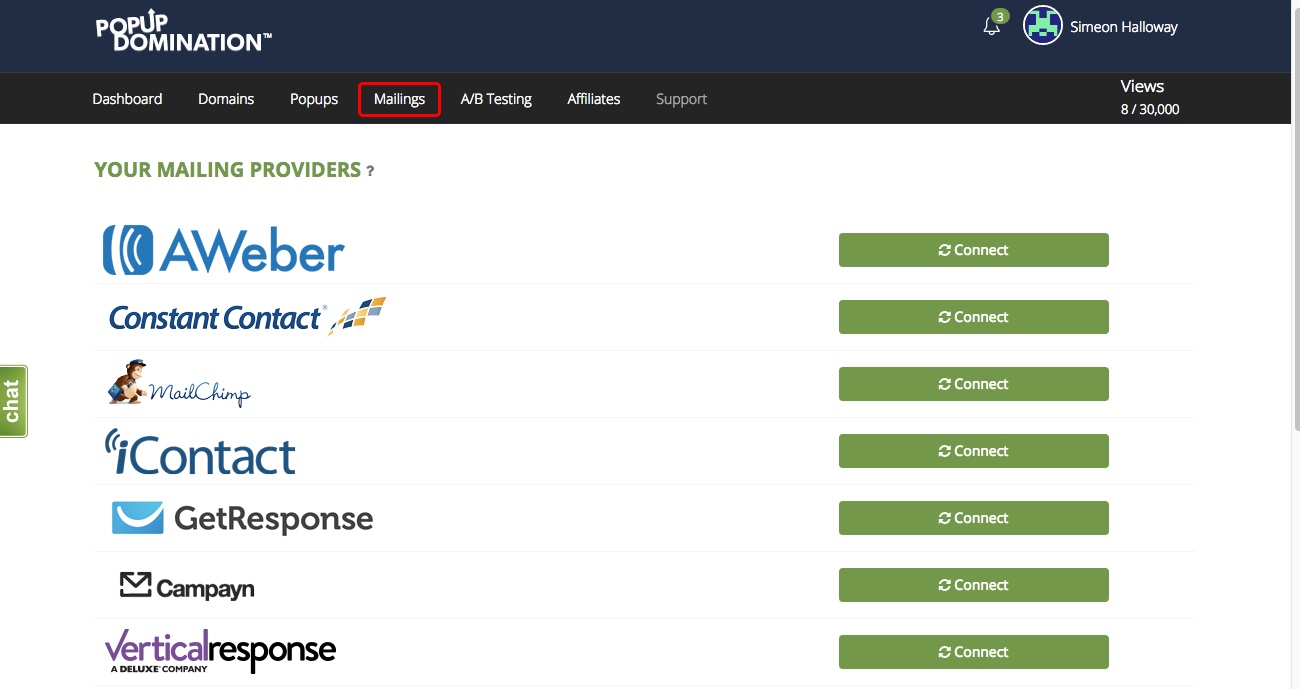
5. Go to PopUp Domination Mailings page:

Group5

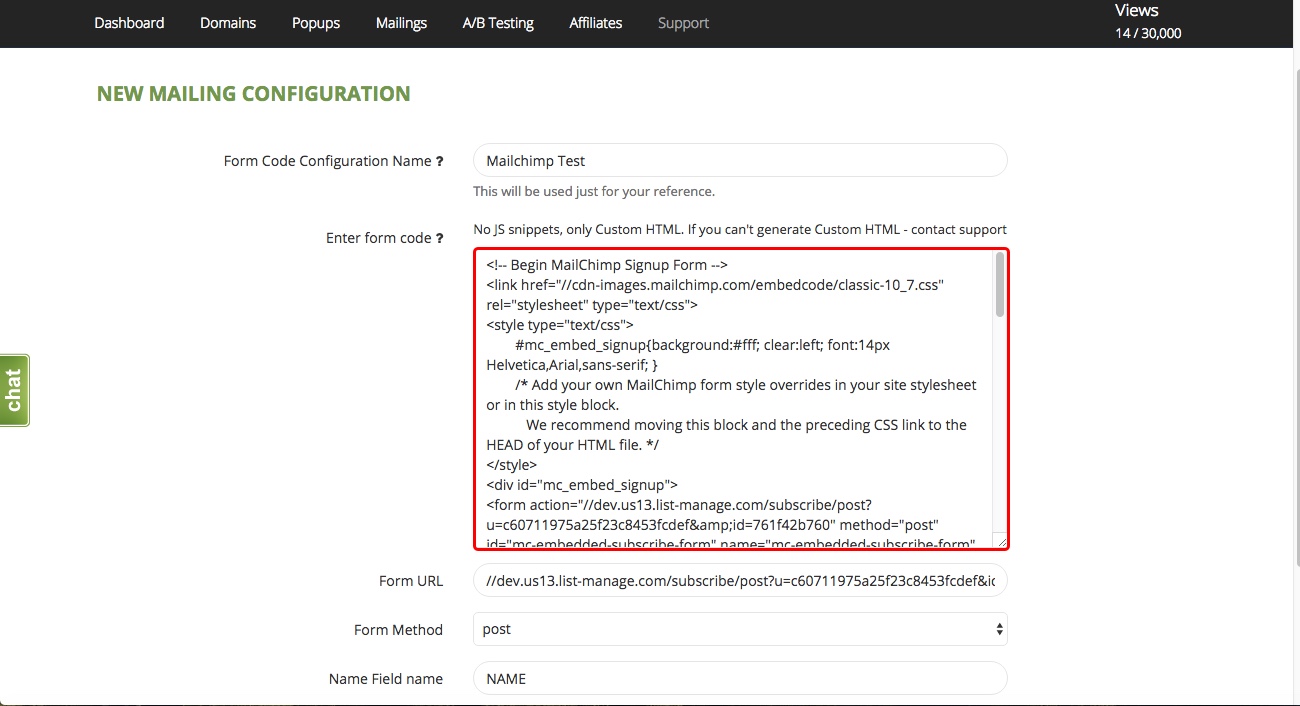
6. Click +New Custom Form:

Group6

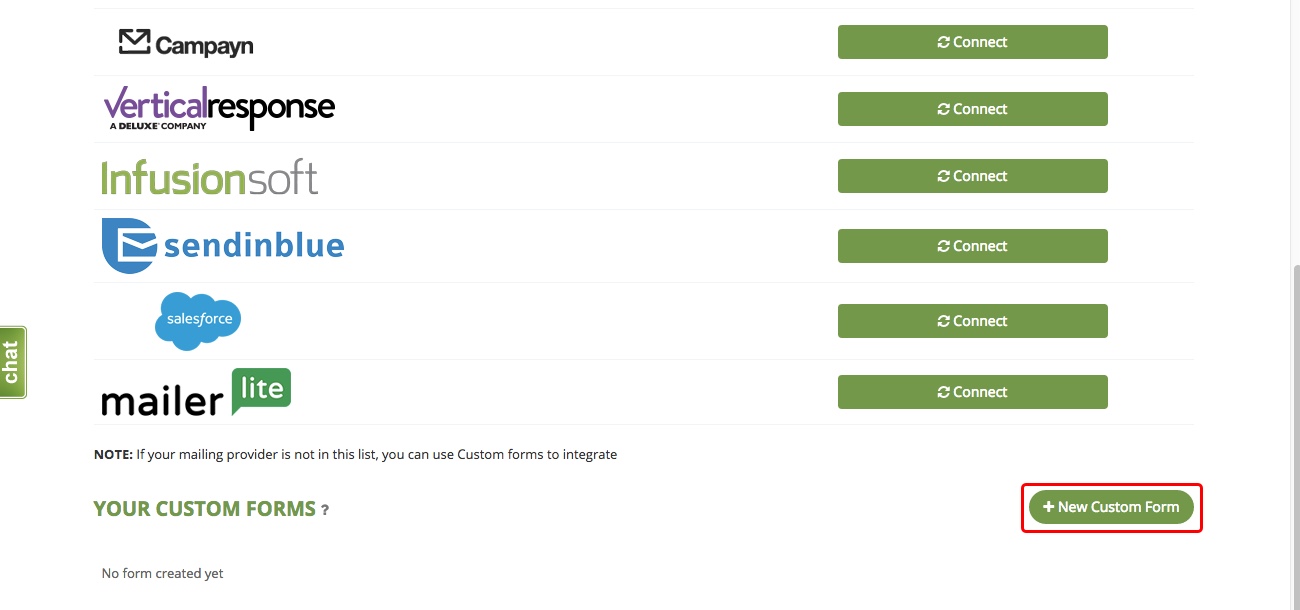
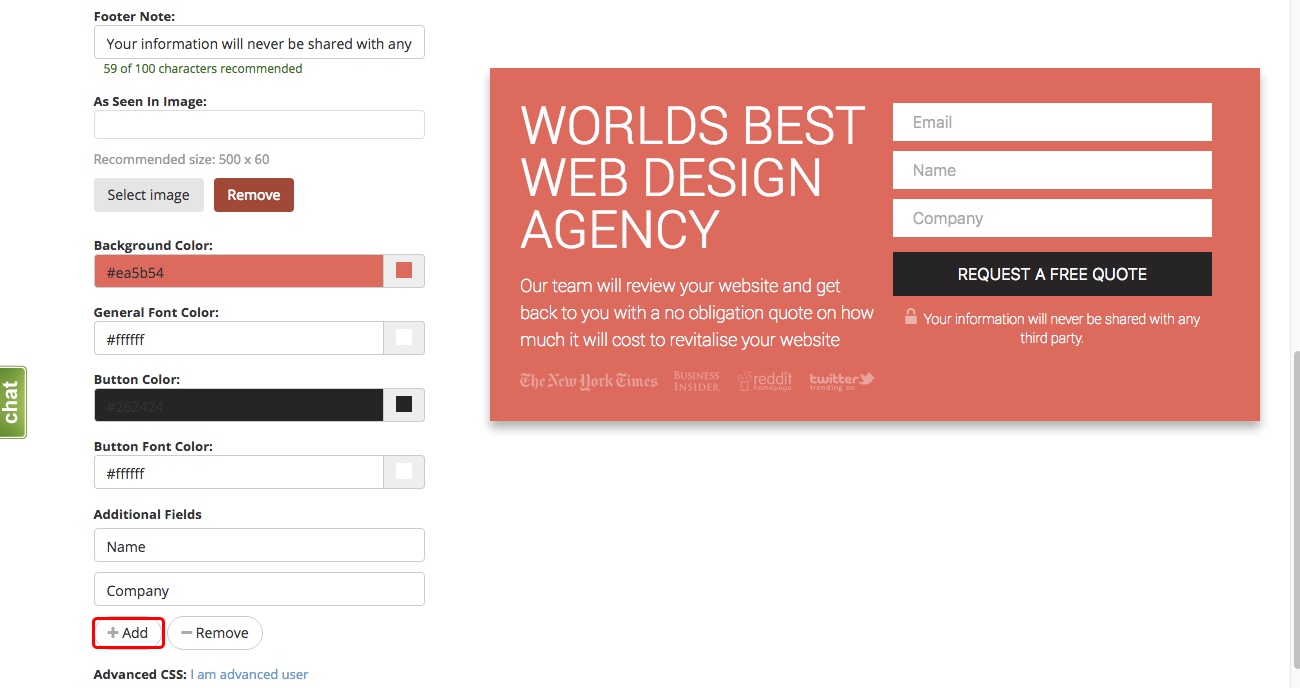
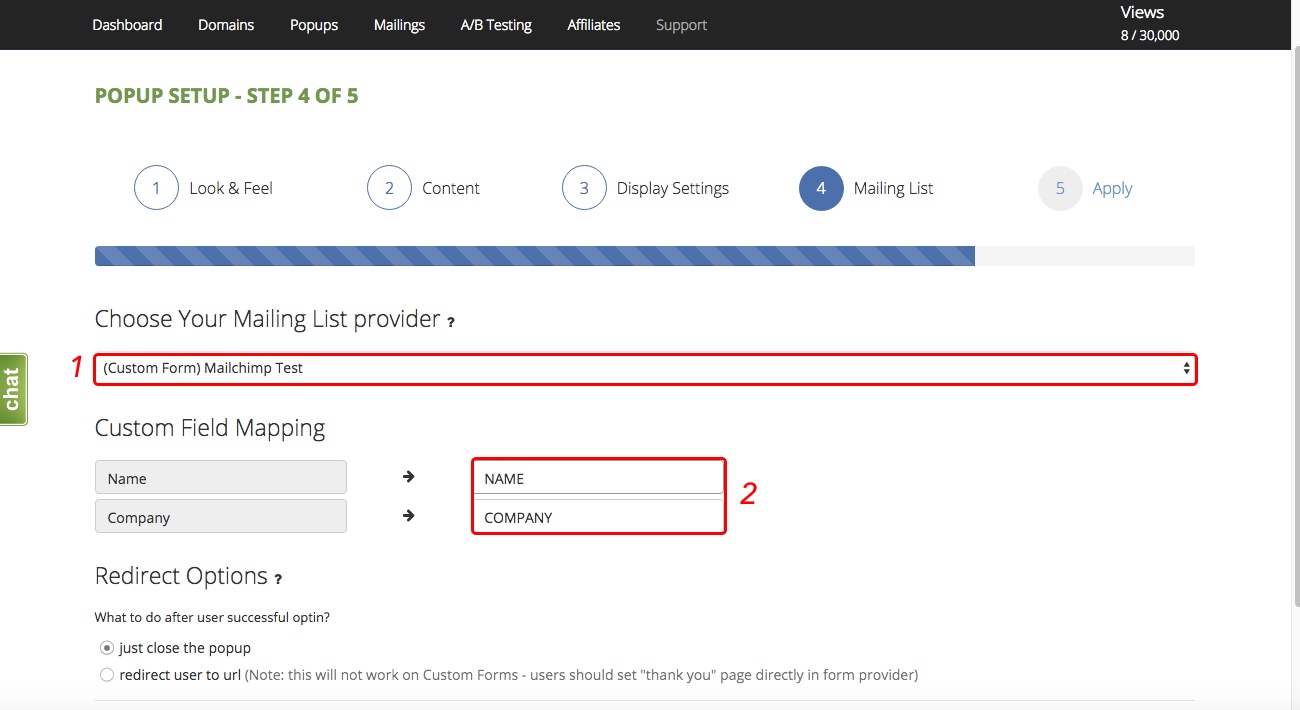
7. Type the name of your Custom Form and paste your Custom Code. Check if the Input Fields are found correctly and click Create. When the Custom Form is Integrated, you will see your Custom Form in Custom Forms section:

Group
 

8. Now go to your MailChimp account -> Lists -> Settings ->List fields and *| MERGE |* tags:

Group7

9.Choose what Field types you will use in your popup:

Group8

10. The name of Field type and name tags, or leave them like they are. Then you will have tags named *|MERGE1|* and *|MERGE2|*. Click Save Changes.

Group9

11. After saving you will see a notification – “Merge tags saved”:

Group10

12. Go to PopUps on your PopUp Domination account. Start creating new PopUp. In Step 1 choose the Multiple Fields template (Enforcer or Executive). In Step 2 add Additional fields – Click + Add to add new field:

Group11

13. Fill Step 3. In Step 4 choose your Mailing list Custom Form. Enter/choose  the names of your tags (Those you you’ve made in MailChimp):

Group12

14. Here is how list looks in MailChimp  (In our example we have 3 fields – email, name, company):

Group13